
I'm Listed Here


Showing posts with label Big Shot. Show all posts
Showing posts with label Big Shot. Show all posts
Thursday, June 24, 2010
I-ROCK LadyBug
 7:07 PM
We've moved- Please find this post here: http://www.pinkcricut.com/2010/06/i-rock-ladybug/

Pear Card using Ink Embossing
2:46 PM
We've moved! Please find this post here: http://www.pinkcricut.com/2010/06/pear-card-using-ink-embossing/
Wednesday, June 16, 2010
Make your OWN Embossing Plates
10:20 AM
I am so excited about this video! :)
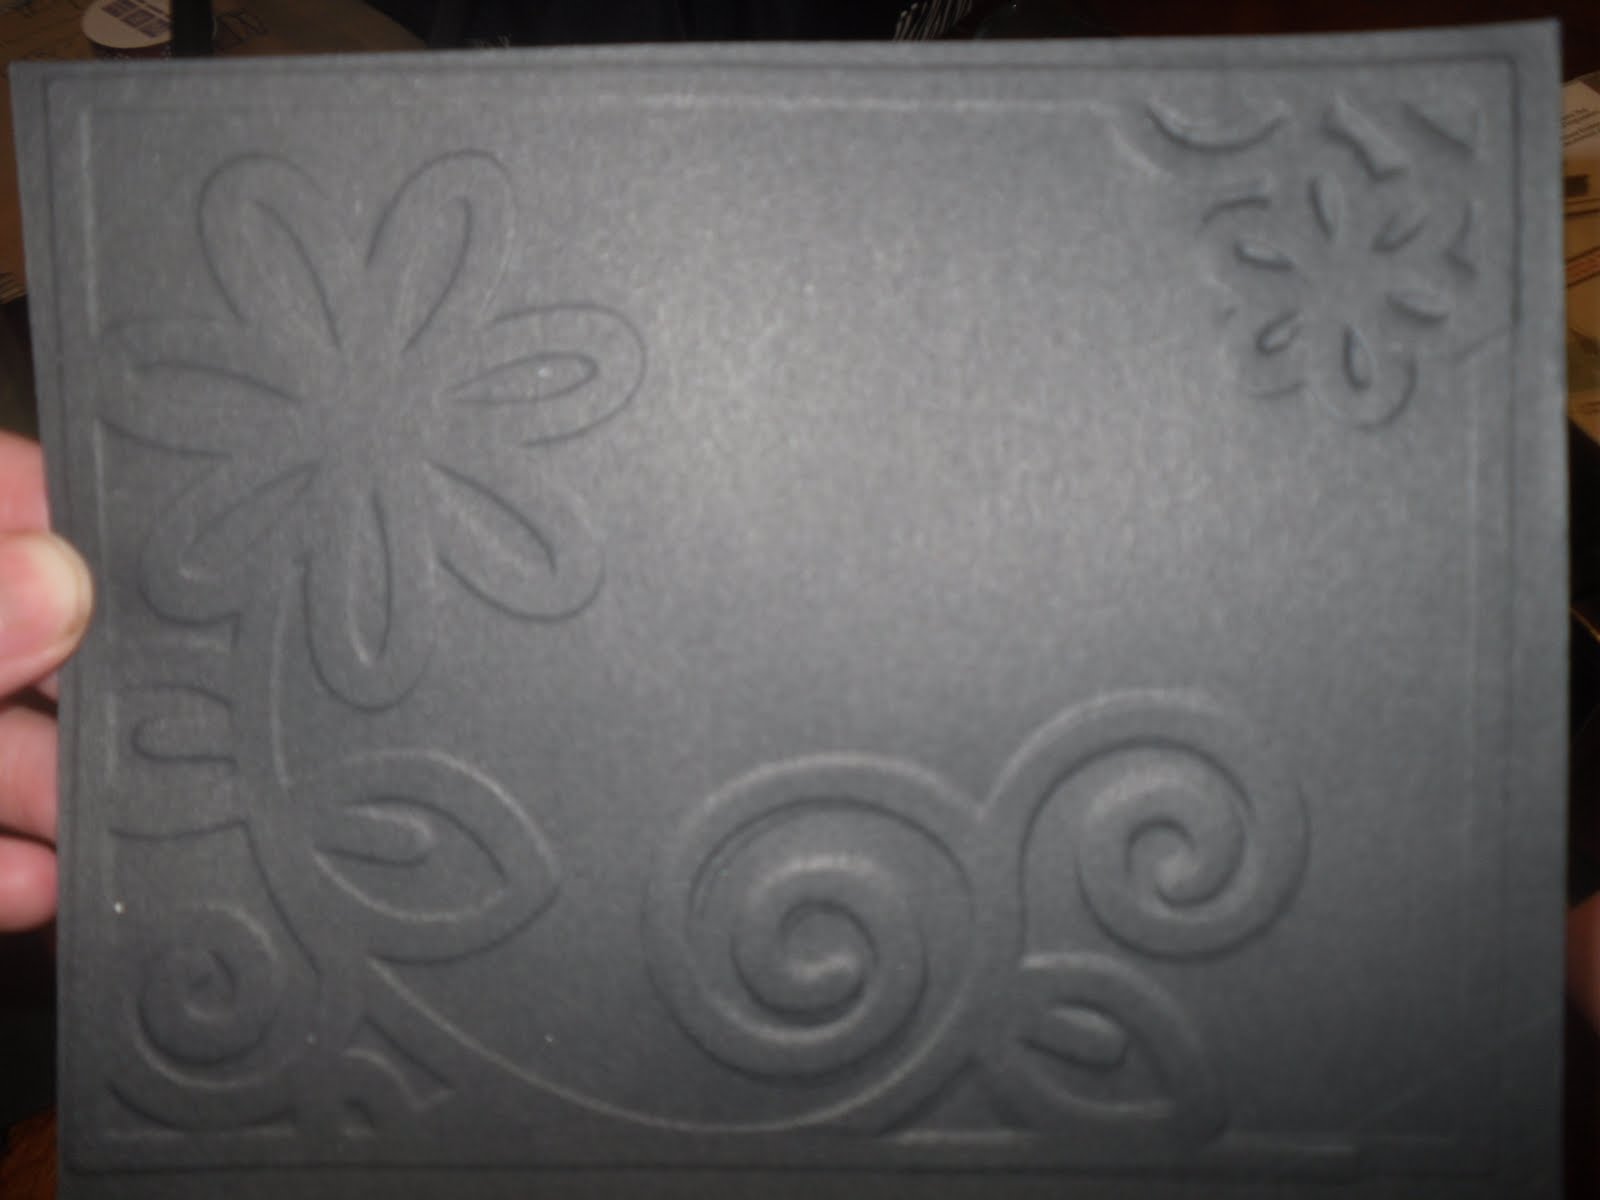
I am going to show you how to make your own embossing plates! This means that you will be able to design your own embossed images on cards or layouts using your Cuttlebug or Big Shot!
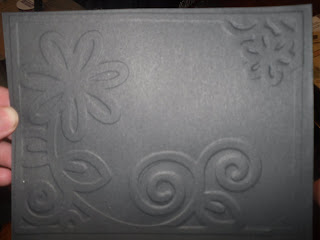
Here is the embossed image I made today!
Note: IF using a Cuttlebug the sandwich should go something like this.
white A plate
add a B plate
lay down your new created embossing plate
lay down your piece of cardstock
lay down the silicone sheet or impressions pad
add a 2nd B plate
You may have to adjust by using a shim, depending on embossing plate thickness. A silicone mat, piece of rubber, foam or a sized-down mouse pad will work for your "impressions" pad! :)
I am going to show you how to make your own embossing plates! This means that you will be able to design your own embossed images on cards or layouts using your Cuttlebug or Big Shot!
Here is the embossed image I made today!
Note: IF using a Cuttlebug the sandwich should go something like this.
white A plate
add a B plate
lay down your new created embossing plate
lay down your piece of cardstock
lay down the silicone sheet or impressions pad
add a 2nd B plate
You may have to adjust by using a shim, depending on embossing plate thickness. A silicone mat, piece of rubber, foam or a sized-down mouse pad will work for your "impressions" pad! :)
Friday, June 11, 2010
Dry Embossing Techniques
11:21 AM
Happy FRIDAY!
I am so excited today! 1st of all I am excited, because yesterday my blog hit a new record of visitors to the site. I had 380 visitors....which is just incredible to me! Before that, my highest visitor count on one day, was 95!
2nd of all, I am excited because the kids are going to grandma's this weekend, which leaves me some time to scrap...and just have adult time.
Last of all, I am excited about my 2 videos that I will put up today!
The first one shows you 2 different techniques you can use with your embossing folders. The second one shows you how to play around with the Cricut markers. When you put these 2 videos together, you get one CUTE card :).
What are you guys doing this weekend??
I am so excited today! 1st of all I am excited, because yesterday my blog hit a new record of visitors to the site. I had 380 visitors....which is just incredible to me! Before that, my highest visitor count on one day, was 95!
2nd of all, I am excited because the kids are going to grandma's this weekend, which leaves me some time to scrap...and just have adult time.
Last of all, I am excited about my 2 videos that I will put up today!
The first one shows you 2 different techniques you can use with your embossing folders. The second one shows you how to play around with the Cricut markers. When you put these 2 videos together, you get one CUTE card :).
What are you guys doing this weekend??
Tuesday, June 1, 2010
Treasure Life's Little Moments
12:08 PM
It is June! A month for Father's and...mother's and sisters in my case. (My mother and sister both have birthdays in June).
June dedicates one of it's 30 days, to Father's. So, on this 1st day of June, I have started thinking about how lucky my kids are to have such a great dad. Someone who works hard at providing for his family and making his children feel loved and special.
It was this father who went to the store to buy 4 fishing poles, tackle, live bait , etc. when his son asked him to go fishing. (He even bought their mommy a pink fishing pole :)) He didn't have any real fishing experience, or know-how , but knew that it was a memory he couldn't resist from making.
So, we've gone fishing as a family for the last few weekends. We don't sit out there too long--just a couple hours, because we do have a 3 year old :). We have not caught a single fish. But, that's okay--that isn't what it is about. Daddy keeps taking the kids fishing, and I keep packing a picnic lunch--and we keep on having family time. One day we will catch a fish-- and the kids will be excited. But, their dad doesn't need to catch a fish in order to be their hero...he already is.
It was this, that inspired my Father's Day Card from the kids to their daddy.

June dedicates one of it's 30 days, to Father's. So, on this 1st day of June, I have started thinking about how lucky my kids are to have such a great dad. Someone who works hard at providing for his family and making his children feel loved and special.
It was this father who went to the store to buy 4 fishing poles, tackle, live bait , etc. when his son asked him to go fishing. (He even bought their mommy a pink fishing pole :)) He didn't have any real fishing experience, or know-how , but knew that it was a memory he couldn't resist from making.
So, we've gone fishing as a family for the last few weekends. We don't sit out there too long--just a couple hours, because we do have a 3 year old :). We have not caught a single fish. But, that's okay--that isn't what it is about. Daddy keeps taking the kids fishing, and I keep packing a picnic lunch--and we keep on having family time. One day we will catch a fish-- and the kids will be excited. But, their dad doesn't need to catch a fish in order to be their hero...he already is.
It was this, that inspired my Father's Day Card from the kids to their daddy.

Recipe:
A Child's Year cartridge
CTMH Treasure Life's Little Moments Stamp
Cream, Blue, Brown cardstock
Brown Grosgrain Ribbon
Picture Hanger
Sizzix Texturz Plate (bubbles)
Chocolate Ink
Saturday, May 22, 2010
Glitter Embossing
9:31 PM
I went out on a limb--had an idea--and tried it for the first time....on film!
I GLITTER Embossed--is that even a 'technique'? It is my own personal BLING dictionary!
You will need the following to participate with me:
Glue pad, with glue
Fine Glitter
Embossing Folder
Embossing Machine

I GLITTER Embossed--is that even a 'technique'? It is my own personal BLING dictionary!
You will need the following to participate with me:
Glue pad, with glue
Fine Glitter
Embossing Folder
Embossing Machine

Unfortunately, in this picture you cannot see how much this glitter and shines!! Take my word for it! :)
The paper is yellow with bright PINK glitter.
Saturday, May 8, 2010
Embossing with Ink, a variation on Letterpressing
1:46 PM
As I drooled over the LetterPress by Epic 6, I thought that maybe I could do something similar with the tools I already owned.
Since, this experiment though, I was given the LetterPress by a couple of very good friends, for my birthday! So, there will be some videos in the future with the official LetterPress. :) (SO EXCITED)

 Inked the background
 Inked the image itself

Since, this experiment though, I was given the LetterPress by a couple of very good friends, for my birthday! So, there will be some videos in the future with the official LetterPress. :) (SO EXCITED)

Big shot or Cuttlebug
Embossing Folders
Ink
 Inked the background
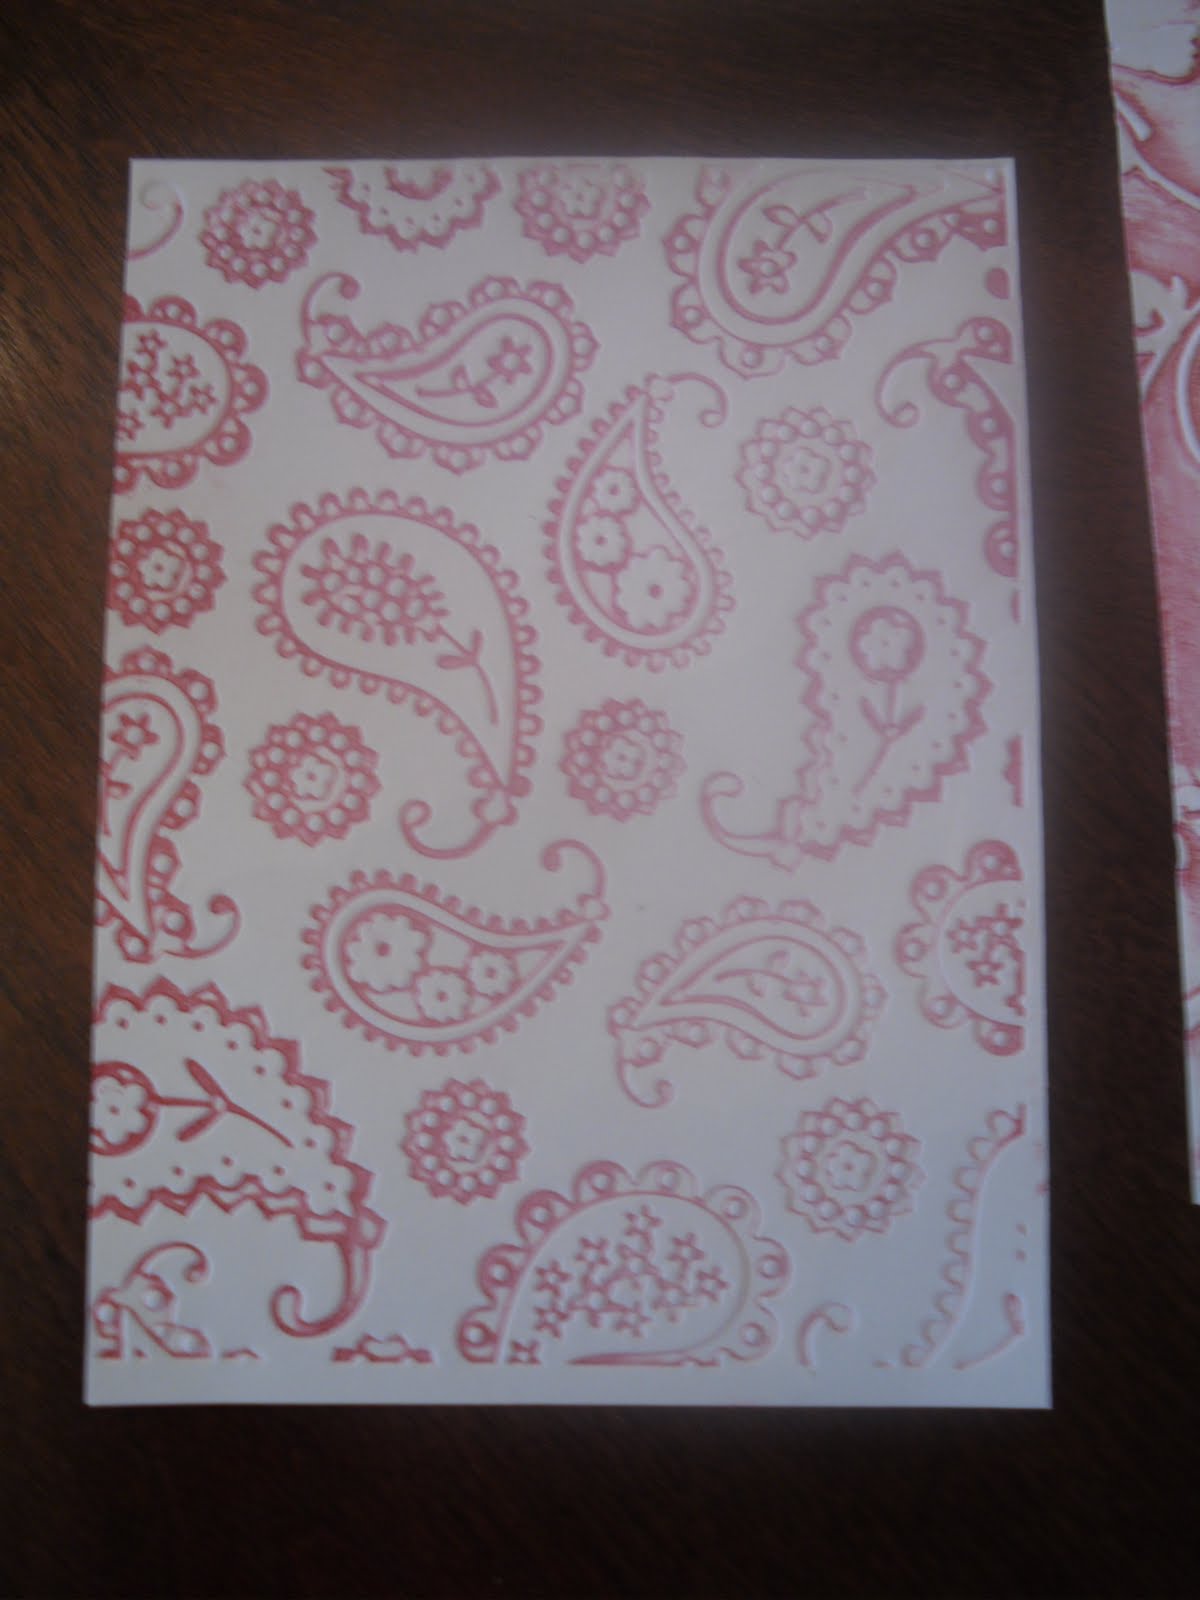 Inked the image itself
Thursday, April 22, 2010
Another Scrap Night
4:31 PM
Last night was our Scrap Night!! Katie shares her cute tree card, and everyone else shares a little bit of what they are working on as well!!
Monday, April 19, 2010
Thank Ewe
10:57 PM
I had a request by my husband, to make a few Thank You cards, for the great people who helped with the fence this past weekend...and of course, with a request like this...I hopped to it.
I browsed my Gypsy for a bit, and then came across my Just Because cartridge. I hadn't actually used it yet, but was so excited to get this particular cartridge. I saw the Thank Ewe sheep--and I knew I had a winner.

Recipe:
Cream notecard
blue, cream, white and brown cardstock
Ribbon
Written Instructions:
Use Gypsy and/or Expression to cut out Sheep shape, fur and shadow sheep at 3 inches, and the words Thank Ewe at 3 inches. I chose the shadow to be brown, the body to be cream and the fur to be white. The words are be blue.
Emboss the white fur with the Cuttlebug D'vine Swirls Embossing folder.
Ink the swirl design, with sand colored ink.
Use premade cream notecard, and fold with bone folder.
Cut light blue cardstock at 4 1/2 and 3 3/4 inches.
Add thick ribbon across the bottom of the card, and trim.
Piece the shadow and letters together with glue pen, and glue to cream colored mat. Glue the cream colored mat to the bottom right hand corner of card.

Sunday, March 14, 2010
Dry Embossing, oh- how I love you!
11:48 PM
This is my new machine, soley used for embossing. I have had a ball with this machine--and it is so PRETTY. It is simple enough for my 3 year old to use--and he has even taught me a few things ;).
 It is the Sizzix Big Shot, and I have been using the Cuttlebug Embossing Folders as well as the Sizzix Texturz plates in it!
I love being able to dry emboss everything! I don't think I will do a card w/o a dry embossing technique ever AGAIN~!
Here are 2 of the cards with the embossing done on some part of them. Both of these cards were done at the GoldDove Scrapping Nights. (we are talking: friends, margaritas, snacks, laughing, and oh yeah, crafting)


I love being able to dry emboss everything! I don't think I will do a card w/o a dry embossing technique ever AGAIN~!
Here are 2 of the cards with the embossing done on some part of them. Both of these cards were done at the GoldDove Scrapping Nights. (we are talking: friends, margaritas, snacks, laughing, and oh yeah, crafting)

I had to replicate the cute owl, and note that his belly has been dry embossed with swirls. Isn't he darling?

I am loving this springtime card, where the pink background is embossed with swiss dots. The umbrella and the "wellington" aka Rainboot were gypsied and cricutted :)
Stamped word "hi"
Subscribe to:
Posts (Atom)

Grab my Button!
Subscribe To


 Posts
All Comments
Posts
All Comments
Share with your Friends
