
I'm Listed Here


Showing posts with label Cricut. Show all posts
Showing posts with label Cricut. Show all posts
Friday, June 25, 2010
A Boy and his Puppy 2 page layout.....and the WINNER
 12:55 PM
We've moved! Please find this post here: http://www.pinkcricut.com/2010/06/a-boy-and-his-puppy-2-page-layout-and-the-winner/
Thursday, June 24, 2010
I-ROCK LadyBug
7:07 PM
We've moved- Please find this post here: http://www.pinkcricut.com/2010/06/i-rock-ladybug/
Wednesday, June 23, 2010
Happy National Pink Day!
1:18 PM
We've moved! Please find this post here : http://www.pinkcricut.com/2010/06/happy-national-pink-day/
Tuesday, June 22, 2010
Layout with Straight from the Nest Cricut Cartridge
3:54 PM
We've moved- Please find this post here: http://www.pinkcricut.com/2010/06/happy-national-pink-day/
Monday, June 21, 2010
Patriotic Parade
8:08 PM
We've Moved! Please find this post here: http://www.pinkcricut.com/2010/06/patriotic-parade/
Labels:
A Child's Year,
Cricut,
Embossing Powder,
Gypsy,
Stamps,
Tim Holtz tiny Stapler
|
 0
comments
0
comments
 0
comments
0
comments
Sunday, June 20, 2010
How to make an owl, using Basic shapes
8:36 PM
We've moved! Please visit this post here:
Labels:
Accent Essentials,
Border Punches,
Cricut,
Gypsy,
Gypsy Wanderings,
Shaped Punche,
Stamps
|
3
comments
3
comments
Friday, June 18, 2010
Bicycle Gift Card Bag
10:41 AM
So, my sweet daughter, learned how to ride her bike without training wheels! We are so proud of her, and so I decided to make her a little gift bag-to which I will put a gift card in, to buy herself a fun bicycle accessory. In this video I will be using the hide contour feature, if you need a little more help with that feature, be sure to watch this video.
I am also going to use this as my entry into Emma's Throwback Thursday Challenge!
IF you haven't entered my giveaway, make sure you do that here ! I will only be taking names until midnight on the 25th! And, also the AC Moore CHA contest--it ends tomorrow! I am crossing all fingers and toes that I can win one of these 3 trips!!
Here is today's video!! :)

Wednesday, June 16, 2010
Make your OWN Embossing Plates
10:20 AM
I am so excited about this video! :)
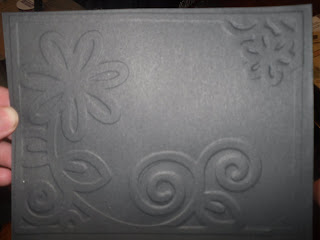
I am going to show you how to make your own embossing plates! This means that you will be able to design your own embossed images on cards or layouts using your Cuttlebug or Big Shot!
Here is the embossed image I made today!
Note: IF using a Cuttlebug the sandwich should go something like this.
white A plate
add a B plate
lay down your new created embossing plate
lay down your piece of cardstock
lay down the silicone sheet or impressions pad
add a 2nd B plate
You may have to adjust by using a shim, depending on embossing plate thickness. A silicone mat, piece of rubber, foam or a sized-down mouse pad will work for your "impressions" pad! :)
I am going to show you how to make your own embossing plates! This means that you will be able to design your own embossed images on cards or layouts using your Cuttlebug or Big Shot!
Here is the embossed image I made today!
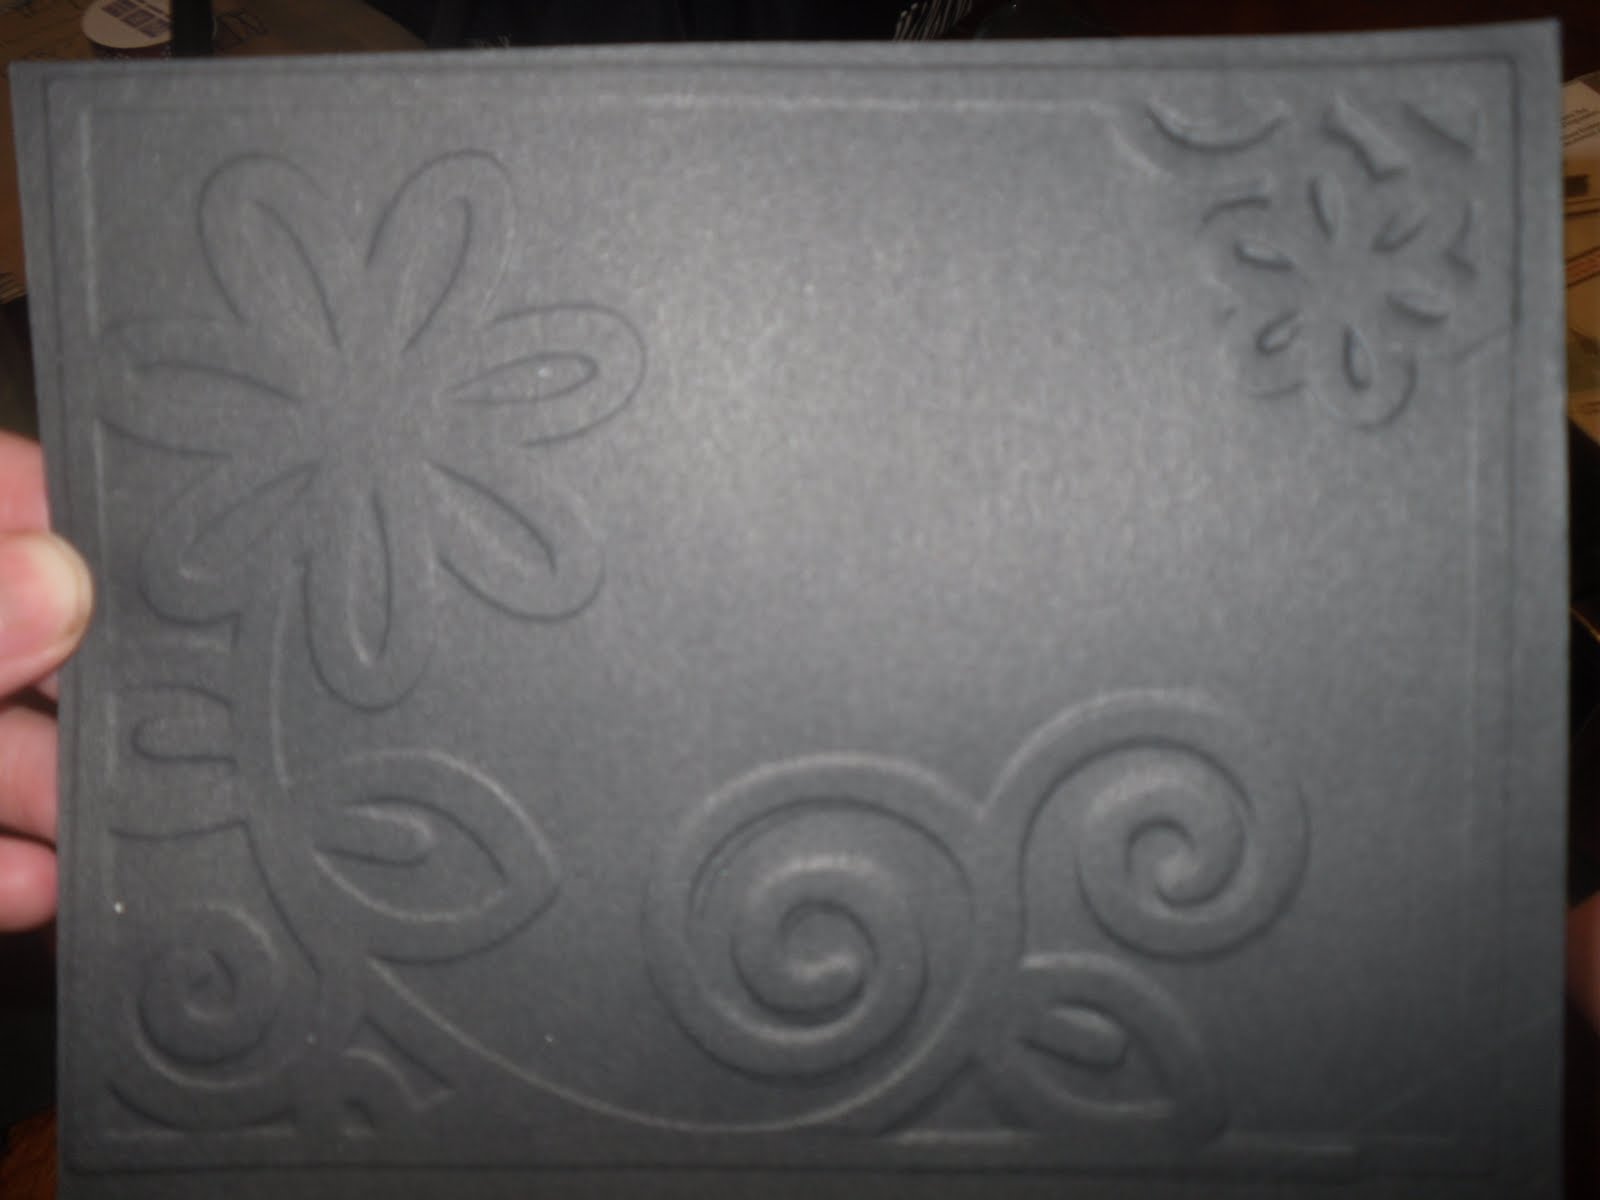
Note: IF using a Cuttlebug the sandwich should go something like this.
white A plate
add a B plate
lay down your new created embossing plate
lay down your piece of cardstock
lay down the silicone sheet or impressions pad
add a 2nd B plate
You may have to adjust by using a shim, depending on embossing plate thickness. A silicone mat, piece of rubber, foam or a sized-down mouse pad will work for your "impressions" pad! :)
Tuesday, June 15, 2010
Live Simply Butterfly
12:09 PM
Happy Tuesday! It is still rainy here, but I hope to run some errands with the kids this afternoon! My son doesn't want to get out of his jammies though...so we will see what happens with that!
You may have noticed that I also did some remodeling on my page yesterday! I added a "category'" type list on the bottom right. From here, you can search by tool or cartridge. I also added a Pink Cricut Button, in the top right, that is up for grabs! :) And, finally I added facebook, twitter and about me links at the top!
Tell me what you think of the new changes....I'd love to hear!
Now, on to today's video....Since yesterday, I made a caterpillar card--I thought it only made sense to make a Butterfly card today! I used the Live Simply cartridge, and no Gypsy again today!
Tomorrow I have a new embossing idea for you all!! So make sure you stop back!

You may have noticed that I also did some remodeling on my page yesterday! I added a "category'" type list on the bottom right. From here, you can search by tool or cartridge. I also added a Pink Cricut Button, in the top right, that is up for grabs! :) And, finally I added facebook, twitter and about me links at the top!
Tell me what you think of the new changes....I'd love to hear!
Now, on to today's video....Since yesterday, I made a caterpillar card--I thought it only made sense to make a Butterfly card today! I used the Live Simply cartridge, and no Gypsy again today!
Tomorrow I have a new embossing idea for you all!! So make sure you stop back!

Monday, June 14, 2010
Live Simply Caterpillar
1:57 PM
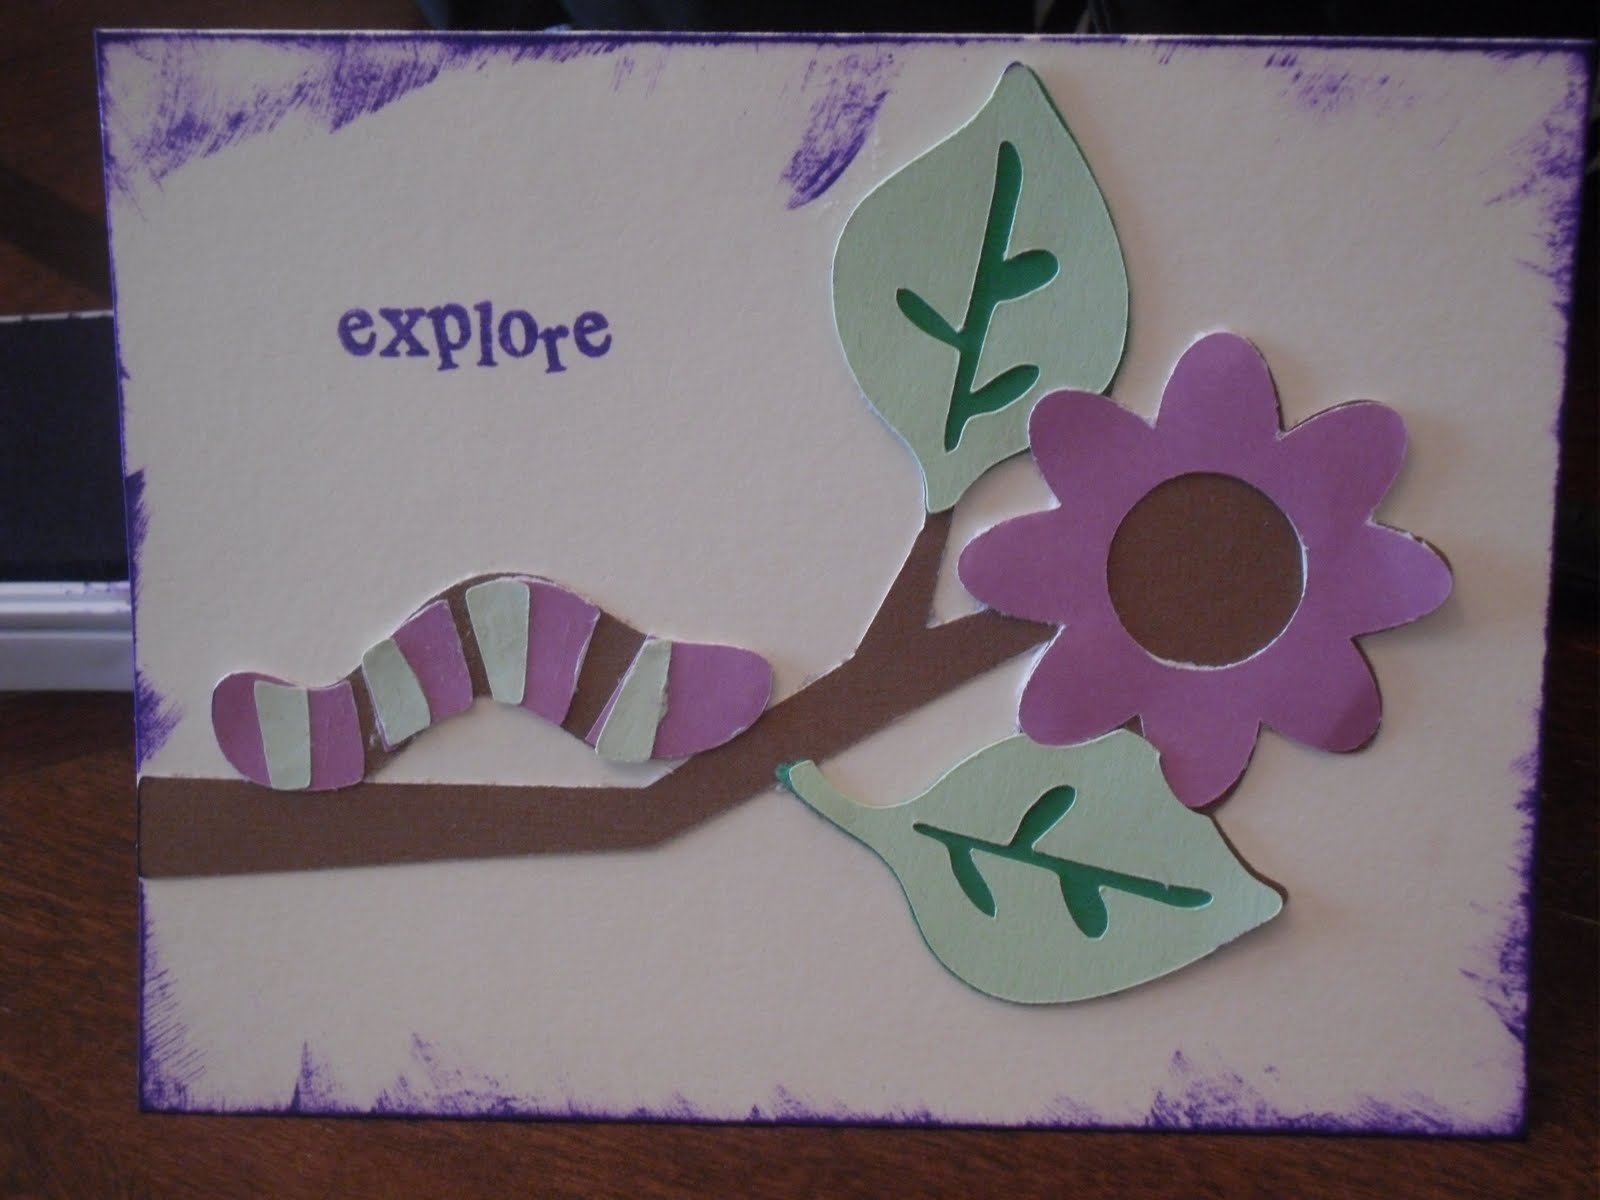
It is starting to rain here--and rain all week :(. Guess, the kids and I will be staying in most of the week! No exploring outside or finding wormies (as my son calls them) for us!! So, I made a card with a cute little wormie- I am not sure if he'd be classified as an inch worm, or a caterpillar, but either way HE IS CUTE!
I did get a chance to work with my new LIVE SIMPLY cartridge!
So excited about the possibilities with this cartridge, and the new booklets that come with the Lite Cartridges!

I did get a chance to work with my new LIVE SIMPLY cartridge!
So excited about the possibilities with this cartridge, and the new booklets that come with the Lite Cartridges!
Sunday, June 13, 2010
"Just Because" stencil feature
11:58 AM
Hi all! I have been excited to use the stencil feature on the Just Because cartridge for weeks, and I finally got to use it on a "scraps" card. By "scraps" card, I mean- that I used the scraps from the last few days, to make a cute new project.
I had an extra "gingerbread boy" from the Recipe Layout I did yesterday--and thought that he would look just as cute on a card! So, if you want to see how to put together our "sweet" lil boy--then hop on over to the Recipe Layout video! :)
We have also, hit over 200 fans on the FB page, which calls for a "challenge" celebration! So, stay tuned!

I had an extra "gingerbread boy" from the Recipe Layout I did yesterday--and thought that he would look just as cute on a card! So, if you want to see how to put together our "sweet" lil boy--then hop on over to the Recipe Layout video! :)
We have also, hit over 200 fans on the FB page, which calls for a "challenge" celebration! So, stay tuned!

Saturday, June 12, 2010
Recipe Layout
6:59 PM
Hi everyone!
I have 2 great ladies, who requested I do a video on a Recipe layout-- I haven't done any in such a long time, I was excited at the idea to work on my recipe books!
I was also inspired to use the colors on this page by Emma over at Creative Time for Me. Her challenge this weekend, is to use Blue, Red and Brown!
Comment below if you have done a recipe scrapbook, want to do one--and what size you are thinking of doing~ I would love to hear about it!
Today, I have been enjoying the day with my husband. We had lunch at a cute cafe, had frappes at a local coffee house, and I got to go to pick out a new purse and go to HOBBY LOBBY! Such a lucky girl!
Tomorrow I will have a "haul" video for you, plus another card! :) Have a good evening!
Note: Don't mind the title of movie-- I forgot to change the number and title, from the last video :/ Sorry!

Friday, June 11, 2010
Using the Cricut Markers
12:11 PM
Here is the 2nd part of the video- and the finished card!
In this video I will show you how to use layers on the Gypsy to draw and then cut an image.

In this video I will show you how to use layers on the Gypsy to draw and then cut an image.

Thursday, June 10, 2010
How to Emboss with your Cricut
10:46 AM
I had a FB friend, ask me to do a video on embossing with my cricut....so, here it is!
I am so excited about this awesome technique and how it opens up the world of possibilities to Cricut users. This is something you could do in the Expression or the Baby Bug.
The only "extra" supplies you will need is a foam mat of some sort. I used the rubber pad that comes with the embossing kit for the Big Shot. So, you may already have a piece....if not.... you can buy the Sizzix Texturz Plates Starter Kit-- it comes with 6 embossing designs, and the Silicone Rubber pad. (can be found at overstock for uner $20.) If you have the cuttlebug, that's great--because the texturz can me used in the cuttlebug!!
A similar rubber mat comes with spellbinders OR you can probably just go to the hardware store, and make your own?? Let me know if you do this, because I'd like to make a 12x12 one.
Here we go!
Note: The blade depth was set at 6, medium speed and high pressure. Though, you could probably go to max pressure easily.


I am so excited about this awesome technique and how it opens up the world of possibilities to Cricut users. This is something you could do in the Expression or the Baby Bug.
The only "extra" supplies you will need is a foam mat of some sort. I used the rubber pad that comes with the embossing kit for the Big Shot. So, you may already have a piece....if not.... you can buy the Sizzix Texturz Plates Starter Kit-- it comes with 6 embossing designs, and the Silicone Rubber pad. (can be found at overstock for uner $20.) If you have the cuttlebug, that's great--because the texturz can me used in the cuttlebug!!
A similar rubber mat comes with spellbinders OR you can probably just go to the hardware store, and make your own?? Let me know if you do this, because I'd like to make a 12x12 one.
Here we go!
Note: The blade depth was set at 6, medium speed and high pressure. Though, you could probably go to max pressure easily.

Here is the embossed flower I created with my expression- (although, I did think it looked like a snowflake)

Here's an angled shot of the embossing.
Friday, June 4, 2010
A Bubbly Birthday
1:25 PM
I know my sister will probably read this-but, that's okay. She will just get a sneak peek at her birthday card. :) I didn't realize that I did the last 2 cards with "A Child's Year," until I started writing this. So, I apologize for being redundant.
I do love this little girl and the bathtub --and I have been really wanting to use her on something. I will probably use a bigger version of her on a bathtub picture of my daughter... But, when my sister told me she wanted to celebrate her birthday with a Spa day--I knew this would be the perfect card. As a mom, I am lucky to get a "spa" like this little girl. So, I know that even a spa in your own bathtub can be just as rewarding as a spa in a salon.....okay, maybe not. :)
Well, in your own bathroom or not, take some time for "you" this month--whether it is your birthday or not! And to my sister: Pour some bubble bath in the tub, turn down the lights, put on some music...and relax.

I do love this little girl and the bathtub --and I have been really wanting to use her on something. I will probably use a bigger version of her on a bathtub picture of my daughter... But, when my sister told me she wanted to celebrate her birthday with a Spa day--I knew this would be the perfect card. As a mom, I am lucky to get a "spa" like this little girl. So, I know that even a spa in your own bathtub can be just as rewarding as a spa in a salon.....okay, maybe not. :)
Well, in your own bathroom or not, take some time for "you" this month--whether it is your birthday or not! And to my sister: Pour some bubble bath in the tub, turn down the lights, put on some music...and relax.

Recipe:
A Child's Year
White premade card
Ribbon
Pop Dots
Wednesday, June 2, 2010
Word Book using the Updated Layer Function on Gypsy
3:53 PM
This is actually my very first word book ever! I thought of making this for my kids to decorate, while trying to fall asleep. I will show you how to design the word book, weld the letters to the pages, use different layers, and "cinch" it together.

Also, I wanted to mention- that if you hold your stylus on each layer for just a couple seconds--it will allow you to change the name of the layer or delete the layer. I forgot to mention that in the video :).
Recipe:
Lyrical Letters
Accent Essentials
Thick cardstock or thin chipboard
The Cinch
O-wire
6x6 inch patterned paper
This is also the first video, I really had to look hard at editing, because I went way over my 10 minutes :). I think I kept all the important stuff in, but if you have any questions please don't hesitate to ask--it probably means someone else has the same question.
I will post a picture of the word book, after it is decorated by the kids!

Note: each letter represents another page- you could fill it in with more paper, to write or decorate if you wanted. My kids are 5 and 3, so--I think 3 pages will be fine for them!
Also, I wanted to mention- that if you hold your stylus on each layer for just a couple seconds--it will allow you to change the name of the layer or delete the layer. I forgot to mention that in the video :).
Recipe:
Lyrical Letters
Accent Essentials
Thick cardstock or thin chipboard
The Cinch
O-wire
6x6 inch patterned paper
Tuesday, June 1, 2010
Treasure Life's Little Moments
12:08 PM
It is June! A month for Father's and...mother's and sisters in my case. (My mother and sister both have birthdays in June).
June dedicates one of it's 30 days, to Father's. So, on this 1st day of June, I have started thinking about how lucky my kids are to have such a great dad. Someone who works hard at providing for his family and making his children feel loved and special.
It was this father who went to the store to buy 4 fishing poles, tackle, live bait , etc. when his son asked him to go fishing. (He even bought their mommy a pink fishing pole :)) He didn't have any real fishing experience, or know-how , but knew that it was a memory he couldn't resist from making.
So, we've gone fishing as a family for the last few weekends. We don't sit out there too long--just a couple hours, because we do have a 3 year old :). We have not caught a single fish. But, that's okay--that isn't what it is about. Daddy keeps taking the kids fishing, and I keep packing a picnic lunch--and we keep on having family time. One day we will catch a fish-- and the kids will be excited. But, their dad doesn't need to catch a fish in order to be their hero...he already is.
It was this, that inspired my Father's Day Card from the kids to their daddy.

June dedicates one of it's 30 days, to Father's. So, on this 1st day of June, I have started thinking about how lucky my kids are to have such a great dad. Someone who works hard at providing for his family and making his children feel loved and special.
It was this father who went to the store to buy 4 fishing poles, tackle, live bait , etc. when his son asked him to go fishing. (He even bought their mommy a pink fishing pole :)) He didn't have any real fishing experience, or know-how , but knew that it was a memory he couldn't resist from making.
So, we've gone fishing as a family for the last few weekends. We don't sit out there too long--just a couple hours, because we do have a 3 year old :). We have not caught a single fish. But, that's okay--that isn't what it is about. Daddy keeps taking the kids fishing, and I keep packing a picnic lunch--and we keep on having family time. One day we will catch a fish-- and the kids will be excited. But, their dad doesn't need to catch a fish in order to be their hero...he already is.
It was this, that inspired my Father's Day Card from the kids to their daddy.

Recipe:
A Child's Year cartridge
CTMH Treasure Life's Little Moments Stamp
Cream, Blue, Brown cardstock
Brown Grosgrain Ribbon
Picture Hanger
Sizzix Texturz Plate (bubbles)
Chocolate Ink
Monday, May 24, 2010
Wedding Bells
5:12 PM
It's Monday-- and beautiful here! The kids and I have been soaking up some sunshine, but I did manage a couple miles on the treadmill and a retreat to my icy cool scraproom (note the sweatshirt in the video:))
I have somehow misplaced my cell phone, and have looked everwhere-- On the bright side, while looking for it, I got some laundry done including washing all the bedding. (My comforter is outside drying, as I type)
Today, I used some of my favorite paper to make a simple wedding card. I used paper to back the buttons and a simply fun stamping technique.
 Recipe
2 types of patterned coordinating paper
1 premade 5x7 card
2 solid color paper scraps
long stamp
Pink Ribbon
Buttons
Friday, May 21, 2010
Graduation Card
5:02 PM
2 videos in 1 day-- I think that is pretty good!!
With graduations all around us--I thought I would make a fun graduation card. If you have any other suggestions of cards or layouts you want me to try- let me know!

With graduations all around us--I thought I would make a fun graduation card. If you have any other suggestions of cards or layouts you want me to try- let me know!

RECIPE:
navy, burgundy, black, white cardstock
Accent Essentials
Tuesday, May 18, 2010
Circle Card with Resist Stamping Technique
7:26 PM
It was a beautiful, sunny day here- which the kids and I got to enjoy!! But, I did manage to squeeze in a video on the cute Circle Card, you can find on the Wild Card Cartridge. The Wild Card cartridge was one of my first few cartridges--and I am so glad that I bought it. Not only does it have great cards on it, it has great phrases and pictures too!!
In this video I did NOT use the Gypsy. It is funny how much I forget about the cricut, because I am so used to using the Gypsy.
I also introduced 2 little stamping techniques
I forgot to take a still photo of the card--so you'll just have to watch the video :)
OOPS, it is actually Episode 16 :).
In this video I did NOT use the Gypsy. It is funny how much I forget about the cricut, because I am so used to using the Gypsy.
I also introduced 2 little stamping techniques
I forgot to take a still photo of the card--so you'll just have to watch the video :)
OOPS, it is actually Episode 16 :).
Subscribe to:
Posts (Atom)

Grab my Button!
Subscribe To


 Posts
All Comments
Posts
All Comments
Share with your Friends
