
I'm Listed Here


Monday, May 31, 2010
I heart the new Gypsy Hide Contour Feature
Yes, it's true--I have fallen in love with my Gypsy all over again :). Provocraft has given us the HIDE CONTOUR feature in the new Gypsy update-which opens all kinds of doors to gypsy and cricut users!
We are now able to essentially delete sections or items from our creation before cutting. This can save us from cutting unneeded items, or it can allow us to create completely new icons!
Thanks for this new update PC! We <3 it!
Here is a little introduction on how to use the new feature:
We are now able to essentially delete sections or items from our creation before cutting. This can save us from cutting unneeded items, or it can allow us to create completely new icons!
Thanks for this new update PC! We <3 it!
Here is a little introduction on how to use the new feature:
New Photo Application with the GYPSY update!! Love this Feature!
I am so excited about the photo application that is now available for all GYPSY users, with the new update! (squeals of delight)
Okay, okay---so you can't use the photo on your gypsy "mat" so to speak. But, you can save photos for later viewing, which means you can save ideas, thoughts, inspring photos of your children etc.
In this quick video I will walk you through the photo update and how to put pictures on your GYPSY!
Okay, okay---so you can't use the photo on your gypsy "mat" so to speak. But, you can save photos for later viewing, which means you can save ideas, thoughts, inspring photos of your children etc.
In this quick video I will walk you through the photo update and how to put pictures on your GYPSY!
Saturday, May 29, 2010
Gypsy Updates Available

Keep posted for a video on the new features. I have birthdays and weddings to attend today-- so, I don't think I will get to it til tomorrow. Thank goodness for a LONG weekend!! :)
Thursday, May 27, 2010
Cricut Cutting Guide
Today, in my internet adventure...I stumbled upon a fabulous Scrapbooking Blog with a VERY helpful Cricut Cutting Guide. Joy at Obsessed with Scrapbooking has allowed me to post a link to her chart, that you can download and print off to put near or on your cricut. It is a helpful tool, in knowing the BLADE, SPEED and PRESSURE for different types of paper!
Go here to download/print/view the Cricut Cutting Chart.
Hope this helps you with all of your Cricut Creations!
Go here to download/print/view the Cricut Cutting Chart.
Hope this helps you with all of your Cricut Creations!
Our Circle Challenge Winners
We had 2 winners for our Circle Challenge this week.
Vicki Krebsbach Johnson has shared some wonderful artwork with us over the past few weeks. I can't believe the work she is able to get done with 2 girls, (ages 11 & 13) and a full time job outside the house~ I know how challenging it can be to find time to get housework done, let alone--time for scrapbooking when you have kids! But, we are so glad she finds the time and to have her be a part of the Pink Cricut.
She is fairly new to scrapbooking (6 months old), and has already done so many cute things! She says, " I enjoy making cards, but haven't tried my hand at actually scrapbooking yet... I find it can be challenging to fill a 4X5 card sometimes, I can't imagine how difficult it would be to design a 12X12 page!!" I don't know about you, but I can't wait to see what happens when she gets her hands on a 12x12 page!!
She says that right now, she "...loves making summer themed cards... current favorites use flip-flops and tropical colors, and her favorite products include my corner chomper, my ek Success edger punches, MME cardstock, and my Xyron sticker maker. Of course, I also love my Cricut. :)" It sounds like she has a good start on all those great scrapbooking tools that make scrapbooking so much fun!
Here is her Circle Challenge Entry!! Thanks so much for sharing with us Vicki, we can't wait to see more!

Our other winner is Wendy Wamser, who has also shared some beautiful card with us. She is a fairly new owner to the baby bug, and has been making loads of cards with the bug! She has been scrapbooking on and off for about 15 years, and it sounds like it runs in the family. She says, " My sisters are into it big time and so is my Mom...But I didnt have near the amount of cool stuff I do today. So much easier and more fun now too!"
Her favorite tool is the Cricut, and she, like all of us, can't believe all the things it can do. "The things you can do on that are endless. And how much easier it is, cutting things out for you. No more Scissors! I love it!"
Her other favorite tool is the Sizzix, which she uses to emboss. " I was making a card the other day, and forgot to use the Sizzix and I sat there and thought,, man this looks so plain..Then I started all over and embossed it.. What a difference! Brought life to the card. "
"I used to love doing pages but now I am addicted to doing cards. The results are immediate and you can do sooo much with cards, as well as share them!
Oh and i'm also a big fan of the Pop Dots! Amazing how they transform the card, with just one little dot.
There are so many products out there that I love, but that would take up the whole page!
And thanks for the Challenges. Love them!"
We are so glad Wendy has the fun tools she needs to let her creativity soar- and we have enjoyed seeing all the work she has done! Keep scrapping Wendy-- and keep sharing your work with us!!

Welding 2 Images to Make a Shaped Card
Yesterday I was sitting with a friend--talking about our next scrap night. We decided that we had enough bird cards, but we hadn't done any birdhouse cards. So, we challenged each other to make a birdhouse card. I didn't have an actual birdhouse card on any of my cricut cartridges, so I made my own by using 2 birdhouse shapes, flipping one, and welding them.
With this technique, you can practically make any shape into a card!!
I realize now, that there is still a bird included on this card--but, I just couldn't resist! :)
The paper I used is DCWV Songbird - it seemed fitting.
Stay posted for a little bit about our Circle Challenge Winners: Wendy and Vicki!

Wednesday, May 26, 2010
Grunge Flower
One of my favorite paper packs is DCWV Doodlin' Around. It has several papers that fit events through the year. They are very cute, and kid-friendly. I can't imagine not using every single paper in this pack. Today I did a circle layout of my daughter in her Easter Dress- adding a grunge flower for dimension.
Recipe for Grunge Flower
Accent Essentials or Plantin Schoolbook (or any other cart w/ a basic flower)
 cardstock
word background stamp
ink
pencil or other "rolling" tool
 brad
brad
Big Bite
Recipe for Grunge Flower
Accent Essentials or Plantin Schoolbook (or any other cart w/ a basic flower)

word background stamp
ink
pencil or other "rolling" tool
 brad
bradBig Bite
The color of this photo, is really weird--the color above are more accurate. :)
Tuesday, May 25, 2010
Black and White Baby Boy Layout
I need to catch up on my scrapbook pages--but, it so much think of and make cards. But, today I tried to stick to my agenda and make a couple layouts. I love this picture of my son, at his first formal pictures with his big sister. He fell asleep before we really got any pictures of him awake--but, we all know that at that age--that is what they do. They sleep. Hmm...sometimes I wish for those days back...and then I remember, the diapers and the crying and the constant feeding :). I'll stick with what I have :).

I am not sure why the colors didn't show up really well, in this pic--But everything is black/white/silver and light blue.

My sweet boy.
Monday, May 24, 2010
Wedding Bells
It's Monday-- and beautiful here! The kids and I have been soaking up some sunshine, but I did manage a couple miles on the treadmill and a retreat to my icy cool scraproom (note the sweatshirt in the video:))
I have somehow misplaced my cell phone, and have looked everwhere-- On the bright side, while looking for it, I got some laundry done including washing all the bedding. (My comforter is outside drying, as I type)
Today, I used some of my favorite paper to make a simple wedding card. I used paper to back the buttons and a simply fun stamping technique.
 Recipe
2 types of patterned coordinating paper
1 premade 5x7 card
2 solid color paper scraps
long stamp
Pink Ribbon
Buttons
Saturday, May 22, 2010
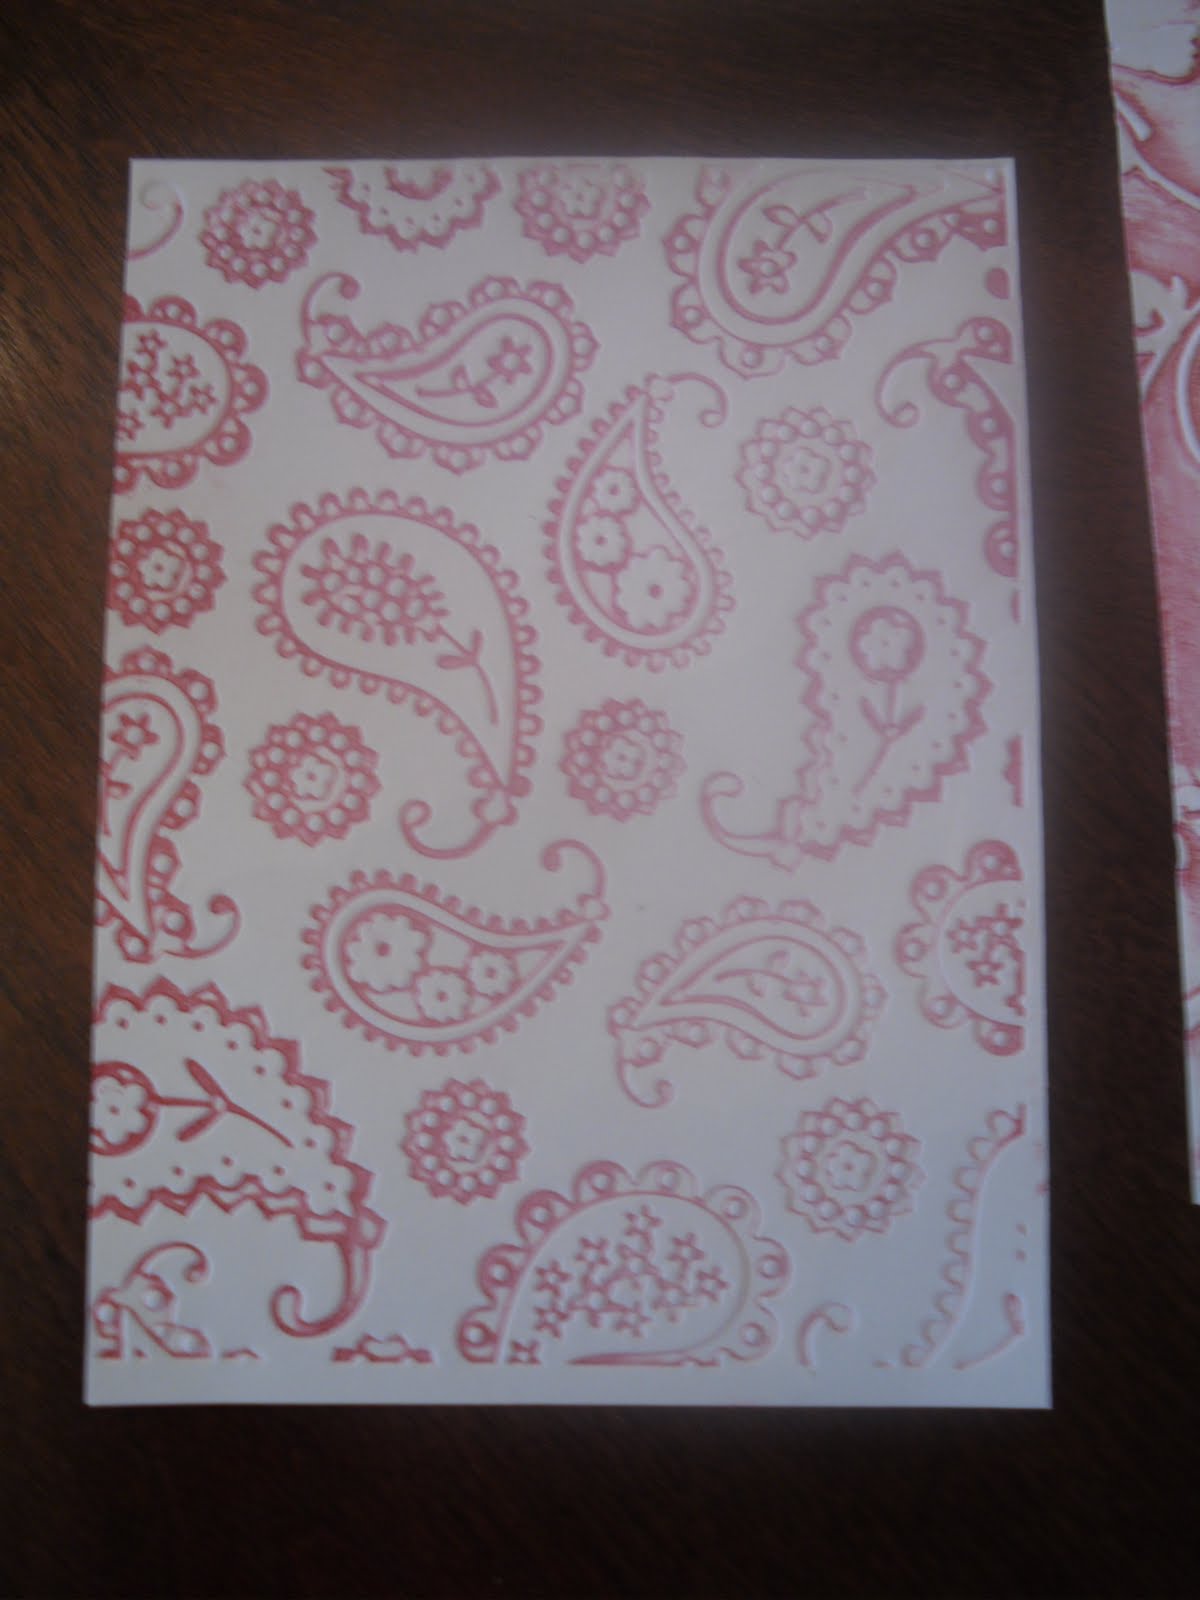
Glitter Embossing
I went out on a limb--had an idea--and tried it for the first time....on film!
I GLITTER Embossed--is that even a 'technique'? It is my own personal BLING dictionary!
You will need the following to participate with me:
Glue pad, with glue
Fine Glitter
Embossing Folder
Embossing Machine

I GLITTER Embossed--is that even a 'technique'? It is my own personal BLING dictionary!
You will need the following to participate with me:
Glue pad, with glue
Fine Glitter
Embossing Folder
Embossing Machine

Unfortunately, in this picture you cannot see how much this glitter and shines!! Take my word for it! :)
The paper is yellow with bright PINK glitter.
Friday, May 21, 2010
New Cartridges coming out in JUNE and July!
New Cricut Cartridges this Summer!!! At first I was a little excited, and then I was a LOT excited!
Here is a peek at the cartridges due to be released the first part of June.

Here is a peek at the cartridges due to be released the first part of June.

Mini Monsters
Aren't these monsters just as adorable as any monster could be??
Graduation Card
2 videos in 1 day-- I think that is pretty good!!
With graduations all around us--I thought I would make a fun graduation card. If you have any other suggestions of cards or layouts you want me to try- let me know!

With graduations all around us--I thought I would make a fun graduation card. If you have any other suggestions of cards or layouts you want me to try- let me know!

RECIPE:
navy, burgundy, black, white cardstock
Accent Essentials
Circle Punch Flowers
Happy FRIDAY everyone!! I am so glad it is the weekend! My husband had to put in some long hours this week--and we have missed him. We are looking forward to some family time. Maybe we will give fishing another try. :)
But, for now- I made a couple videos to make it through the weekend with!!
Don't forget about the circle challenge that ends on Thursday!
Don't forget about the circle challenge that ends on Thursday!

You can glue the flower directly to your project--or use another circle as a base to glue the petals to. :)
Tuesday, May 18, 2010
Circle Card with Resist Stamping Technique
It was a beautiful, sunny day here- which the kids and I got to enjoy!! But, I did manage to squeeze in a video on the cute Circle Card, you can find on the Wild Card Cartridge. The Wild Card cartridge was one of my first few cartridges--and I am so glad that I bought it. Not only does it have great cards on it, it has great phrases and pictures too!!
In this video I did NOT use the Gypsy. It is funny how much I forget about the cricut, because I am so used to using the Gypsy.
I also introduced 2 little stamping techniques
I forgot to take a still photo of the card--so you'll just have to watch the video :)
OOPS, it is actually Episode 16 :).
In this video I did NOT use the Gypsy. It is funny how much I forget about the cricut, because I am so used to using the Gypsy.
I also introduced 2 little stamping techniques
I forgot to take a still photo of the card--so you'll just have to watch the video :)
OOPS, it is actually Episode 16 :).
Monday, May 17, 2010
Make your OWN embellishments with Packing Tape!!
I received free packing tape in the mail from DUCK and thought I would use it to show everyone a new technique. With this technique you can use any printed material- magazines/gift bags/etc, and turn it into an embellishment. The possibilities are endless...you could cut out a cute picture, a famous person's photo, a pattern--anything!! I am thinking I may have to find a magazine with a picture of Hannah Montana to use for my daughter's scrapbook!
Supplies you will need:
Printed design/photo/picture
Bowl of water
Scissors
Packing Tape
Bone Folder
 2 pictures I found in an old scrapbooking magazine, that I made into embellishments. Note: you can trim up the cake, much like I trimmed the true tag.
Hope you have as much fun as I did with this quick and easy technique!
Supplies you will need:
Printed design/photo/picture
Bowl of water
Scissors
Packing Tape
Bone Folder
 2 pictures I found in an old scrapbooking magazine, that I made into embellishments. Note: you can trim up the cake, much like I trimmed the true tag.
Sunday, May 16, 2010
What another beautiful day! We took the kids on their first fishing adventure yesterday. We didn't catch anything, but it was defintely an experience for all of us. Today we will be signing up our daughter for her first soccer season, and then maybe I will get some scrapbooking done..? It is just too beautiful to not be outside enjoying the weather. Maybe I need a greenhouse type building for scrapping outside.


Friday, May 14, 2010
New Challenge!
I hope everyone is enjoying some sunshine today! It seems like forever since we have seen it's glowing face--but, it is here--:) :)
Also, Check out the new challenge on the Facebook Page Entries are to be in by Monday morning at 10am
Have a Great SUNNY Friday everyone!
Also, Check out the new challenge on the Facebook Page Entries are to be in by Monday morning at 10am
Have a Great SUNNY Friday everyone!
Thursday, May 13, 2010
Tri-fold Card from Wild Card
A friend came over today--and coffee led to talking, which led to scrapbooking :). We made a card, and then she left so I could film the instructions on the card--because it was too cute not to share!


Embossing without a Machine :)
No cutttlebug? No Sizzix Big Shot? No problem!! In this very quick video- I'll show you a way to emboss for your cards and scrapbooking without a machine!! You still need an embossing folder or plate, but you can purchase those for as cheap as $3.


Stamp Winner
Our winner today was chosen with random.org. All she had to do is become a follower, and tell us about it on the Facebook page! Congratulations Jenn! Hope you like the Close to my Heart stamps!
I am planning another giveaway in the very near future, so stay tuned :)
Today is another rainy day here--it seems like it will never stop raining. Last night I stayed up til 2 am cleaning the kids' bedrooms and doing laundry. It seems I just can't keep up these days. :)
Hopefully, with accomplishing so much housework in the wee hours of the morning, I can find some crafting time!! Maybe I will even initiate a challenge for all the crafters out there....
Wednesday, May 12, 2010
Letterpress Time
It is another cold, rainy, dreary day here :(. But, since I took a little shopping trip to Hobby Lobby last night, I had something new to play with. I picked up a tube of HOT PINK letterpress ink at 40% off- along with some watercolor paper. I thought maybe watercolor paper would work the same as the pricier Letterpress paper...(no such luck.)

Anyway, I LOVE the pink ink though! Can't wait to have a "Real" project to work on with my letterpress-instead of just "practicing," with it!! ( The letterpress paper is on the left, and the watercolor paper is on the right.)

Anyway, I LOVE the pink ink though! Can't wait to have a "Real" project to work on with my letterpress-instead of just "practicing," with it!! ( The letterpress paper is on the left, and the watercolor paper is on the right.)
Tuesday, May 11, 2010
Thanks a Melon
Happy Tuesday--It is cold and wet here :(, so I've tried to brighten our day with some scrapping!
Here is the recipe:

Here is the recipe:
White Notecard
multi-colored rickrack
Circles Sizzix Texturz Plate
Orange, Green, Black, yellow and Pink Cardstock
Stamps

Monday, May 10, 2010
1 month Anniversary
On Wednesday, I am celebrating my 1 month anniversary with my new look/design at the Pink Cricut website--with a stamp giveaway! I have already told you about it on the Facebook Fan page--so, don't forget to ENTER.
You can enter by, becoming a Follower on here--(look down and to the right)--and then telling me you did so on the Facebook Fan Page!
Good Luck to all of you!!
You can enter by, becoming a Follower on here--(look down and to the right)--and then telling me you did so on the Facebook Fan Page!
Good Luck to all of you!!
Saturday, May 8, 2010
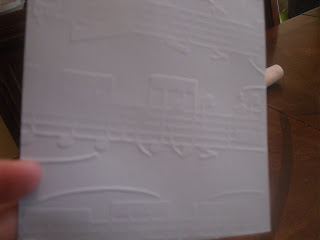
Embossing with Ink, a variation on Letterpressing
As I drooled over the LetterPress by Epic 6, I thought that maybe I could do something similar with the tools I already owned.
Since, this experiment though, I was given the LetterPress by a couple of very good friends, for my birthday! So, there will be some videos in the future with the official LetterPress. :) (SO EXCITED)

 Inked the background
 Inked the image itself
Since, this experiment though, I was given the LetterPress by a couple of very good friends, for my birthday! So, there will be some videos in the future with the official LetterPress. :) (SO EXCITED)

Big shot or Cuttlebug
Embossing Folders
Ink
 Inked the background
 Inked the image itself
Tuesday, May 4, 2010
Robot Card

Since I am having camera trouble today, but still wanted to share--I will do this the "wordy" way.
The other day, during Michael's Scrapbook sale, I picked up these ADORABLE robot stamps. I am not normally into robots, but I fell in love with these little guys--and at $6, who wouldn't be in love?
During the metal challenge, I decided to use my cute little robots--it seemed appropriate.
For this project, you will need:
White premade card and envelope
Robot stamp
Yellow Carstock
Purple Cardstock
Metal brads
Microtip scissors
Metallic Paper
Fold card using bone folder, and cut yellow paper 1 inch less than the measurement of the card. So, if your card measures 5x7, cut the yellow mat to be 4x6.
Cut a border of purple cardstock the same height, but 2.5 inches wide. Glue both of these down on the card base, as shown starting with the yellow.
Stamp Mr. Robot on white cardstock, with purple and yellow ink. I used ColorBox Fluid Chalk in order to ink the stamp in different colors. (I just recently started using these, in addition to my other ink--and I love them! They dry quickly, and give a softer look. Plus, I love that I can ink a small stamp in more than one color using the corners of the "cat's eye")
Once, the image is stamped, cut out using microtip scissors. Glue to purple cardstock, and cut out the shape once again.
Pop-dot the robot to metallic paper, and glue the metallic paper to the bottom right hand corner. Use purple stickles, to accent the robot's mouth and "buttons"
Stamp a sentiment, on white cardstock and glue to purple cardstock. Pop-dot and place in between the purple and yellow cardstock in the middle. (The robot stamps I bought, came with a couple of sentiments)
Punch out 3 holes, using the Big Bite, to place 3 metal brads in top right corner. (If you don't have one of these, use a paper piercer. Keep on the lookout though, I have seen these as cheap as $10 at a local Walmart!)
Line the inside of the card, if you desire, and then you have a card fit for any robot-fan!
Vinyl Art

One of my favorite things to do with my cricut, is to use it to cut out vinyl decorations for my home. In the first few weeks, I think my husband was convinced I was going to cover every inch of our house in vinyl lettering.
My favorite piece I did, is in my scraproom. I bought the Love Struck Limited Edition cartridge specifically for it's zebra heart. I am sure I will use it on other things as well, but it is the shape that "sold" me. I was also excited to be able to get it at a very reasonable price. You can get them for under $20 right now at www.scrapbookpal.com.
For this heart you will need:
2 colors of vinyl. I used fuschia and black.
Cricut Expression
12 inch cutting mat
Love Struck Cartridge
Scissors
Transfer tape
Cricut spatula
First cut the shadow of the zebra heart, in black vinyl at 12 inches. Since the shape was so big, I did not need the transfer tape.
Peel and place the heart on desired surface. Since, I was using it on a double door, I cut the heart in half before peeling the backing off.
Next, cut the zebra printed heart, at 11.5. With the extra space, and not wanting to waste any pink vinyl, I also cut out the word, "pink" along with some swirls.
Once cut, use the transfer tape to "pick up" the design. Some of the zebra stripes are a little intricate, and it's hard to tell which ones are supposed to stay, and which ones aren't. The transfer tape allows you to slowly peel up the design, as you distinguish between the stripes.
Line the zebra striped heart over the black heart, and press firmly. Use a transfer tool of some sort, to rub out the bubbles and get the vinyl to detach from the transfer tape. I used a kitchen spatula :).
Repeat with any extra shapes you may have cut out with the "extra" vinyl.
Sunday, May 2, 2010
The Winner of the Heavy Metal Challenge!
The Winner of the Heavy Metal Challenge is Kathryn Rodriguez! She showed off her talent with impressive embossing, inking and design! I heart this card!
Kathy has been scrapbooking for years, and knows her way around any scrapbooking tool! She is always willing to share her expertise or her paper :).

Thanks for the entry Kathy! Good Luck to the rest of you, on the next challenge!
Kathy has been scrapbooking for years, and knows her way around any scrapbooking tool! She is always willing to share her expertise or her paper :).

Thanks for the entry Kathy! Good Luck to the rest of you, on the next challenge!
Subscribe to:
Posts (Atom)
Grab my Button!

