
I'm Listed Here


Wednesday, June 16, 2010
Make your OWN Embossing Plates
I am so excited about this video! :)
I am going to show you how to make your own embossing plates! This means that you will be able to design your own embossed images on cards or layouts using your Cuttlebug or Big Shot!
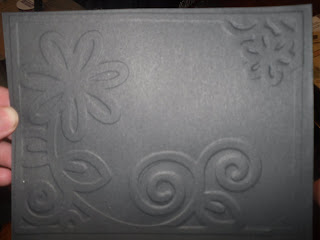
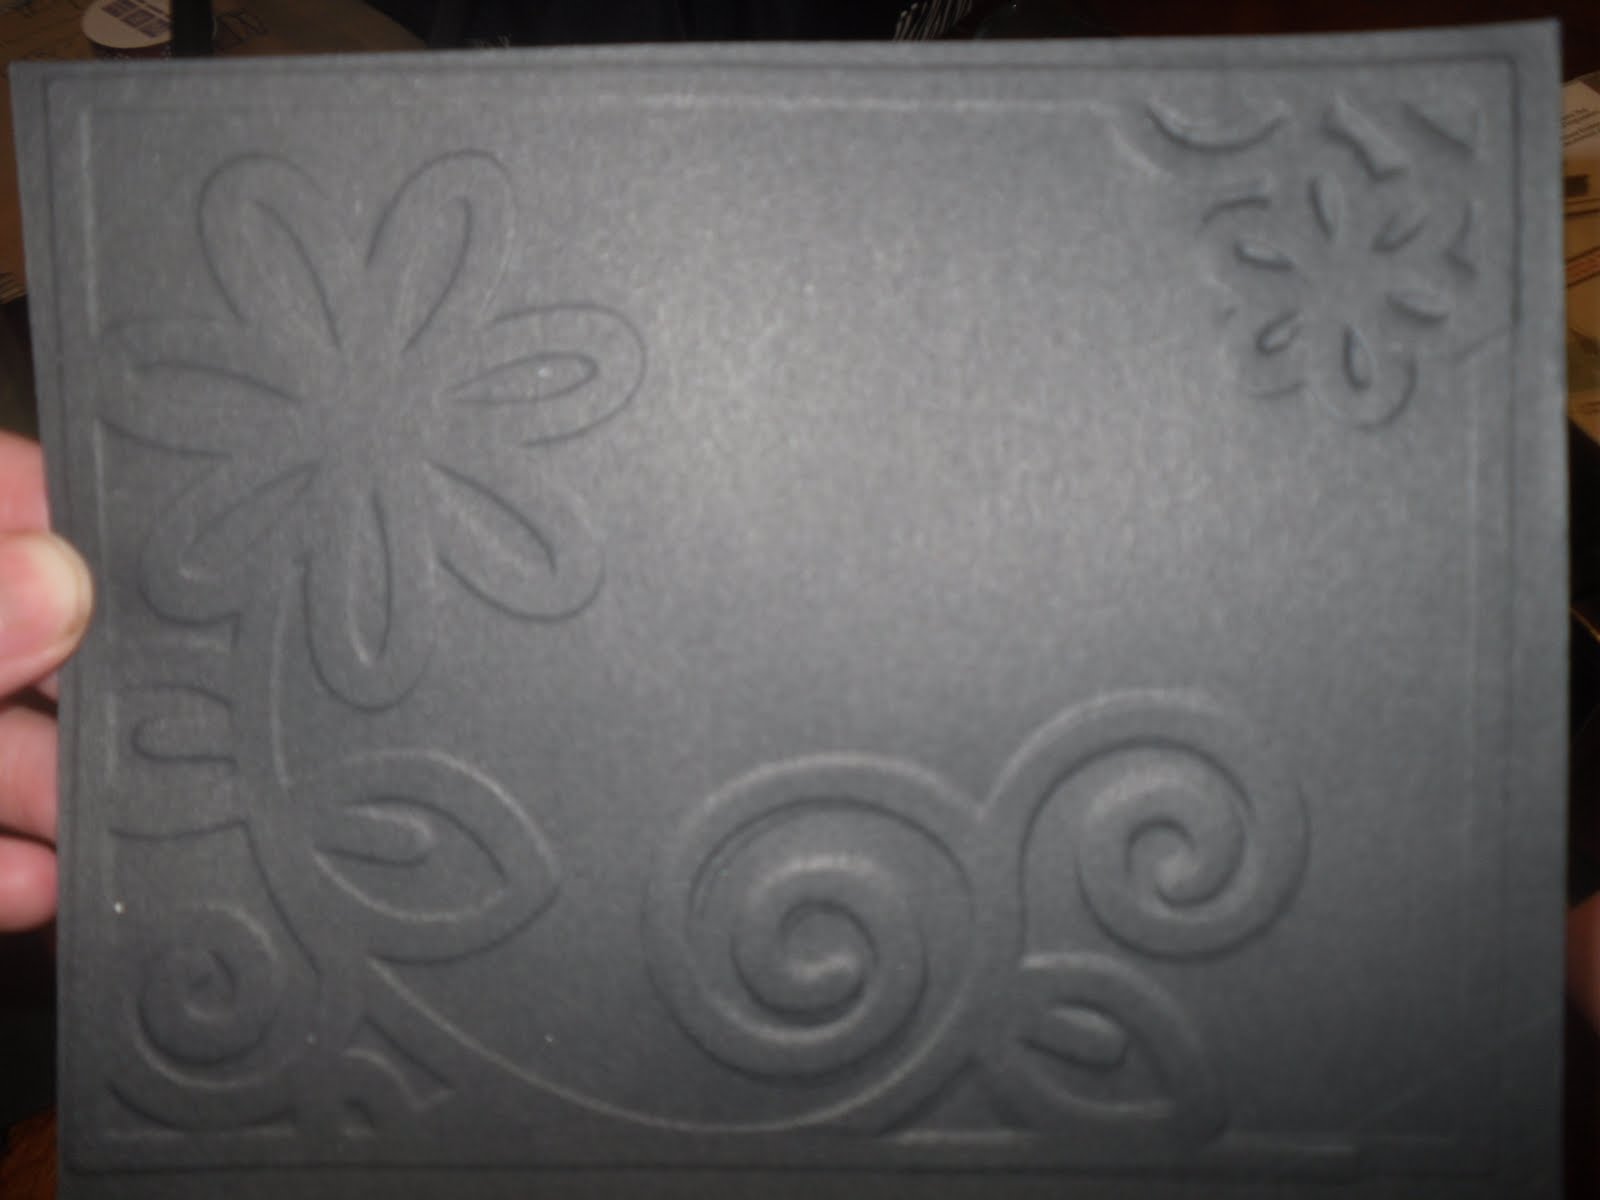
Here is the embossed image I made today!
Note: IF using a Cuttlebug the sandwich should go something like this.
white A plate
add a B plate
lay down your new created embossing plate
lay down your piece of cardstock
lay down the silicone sheet or impressions pad
add a 2nd B plate
You may have to adjust by using a shim, depending on embossing plate thickness. A silicone mat, piece of rubber, foam or a sized-down mouse pad will work for your "impressions" pad! :)
I am going to show you how to make your own embossing plates! This means that you will be able to design your own embossed images on cards or layouts using your Cuttlebug or Big Shot!
Here is the embossed image I made today!
Note: IF using a Cuttlebug the sandwich should go something like this.
white A plate
add a B plate
lay down your new created embossing plate
lay down your piece of cardstock
lay down the silicone sheet or impressions pad
add a 2nd B plate
You may have to adjust by using a shim, depending on embossing plate thickness. A silicone mat, piece of rubber, foam or a sized-down mouse pad will work for your "impressions" pad! :)
Subscribe to:
Post Comments (Atom)
Grab my Button!


15 comments:
Really cool idea!!! I can't wait to pass this info to my friends! I know they'll be amazed too!!! Thanks!
~Vanessa W
Thanks Vanessa!! :) Have fun with it!
This is great. I love the idea of being able to make whatever design I want. I have the Sizzix Texture Boutique and I took an old mouse pad and cut it to the size of my plates to use in place of the rubber plate you used. They are fabulous. Just for something to practice with I used some chipboard punch outs I had. Oh my you have opend up a whole new world for me. Thank you.
This is such a fabulous idea! Thank you for sharing!!!
<3 Angela
Wee Share
www.weeshare.net
angela.hogan26@gmail.com
Thanks so much for this tutorial! this will be so helpful
What a cool idea - thanks for sharing!
http://scrappmel.blogspot.com - come on by and visit :)
This is such a cool idea.
Thanks for sharing.
What a cool idea! I saw you mention that it can also be done on the cuttlebug, but have you tried it? I notice that the Sizzix has a different configuration of plate (rubber mat) than the cuttlebug. I guess I'll have to try it.
Thanks for sharing.
Kathy,
I just added a note at the bottom-- helping you with the Cuttlbug sandwich! :)
Hi, Pink! I found your blog through a Google search on the phrase, make your own embossing plates. This is great info! I just got a great buy on an original Sizzix machine (the press type with the lever) and am looking forward to doing dry embossing with it. I have tendinitis, so the little Fiskars embossing tools just don't cut it anymore!
I wonder how it would work to use magnet media. I was given two rolls of laminate/magnet for my Xyron 900, but I can't see ever making magnets with it. I would think the Cricut deep cut blade would cut through it well and the magnet would hold up to repeated impressions if I mounted it on a thick piece of chipboard. What do you think?
@Penny - great idea on using an old mouse pad for a rubber mat. If I can find our old one, I'll try that. Otherwise, I may get some rubber gasket material at Lowe's; I read on another blog about using that stuff for this purpose.
By the way...what all will I need to use Fiskars embossing plates with the original Sizzix machine? I'm assuming I need to get the converter, but will I need anything else? Can I just shim them up with plexi or chipboard?
I know everyone's getting the BIGkick and BIGshot, but I always liked how I could put as much pressure as needed with the old lever press style.
@GW I am glad you found me! I have heard that plumber's gasket will work also-- and for the Sizzix machine, you will need the converter, the gasket or mousepad--and either plexi or chipboard to use as a shim. I am not sure how much you would need--you would have to play around with it a little.
The Cricut deep cut blade should cut through your magnet material, just be sure that your multi-cut function is on. I think if you mounted a design on a piece of chipboard, it would make a wonderful embossing plate! Let me know if you try this, and how well it works for you!
I can NOT wait to try this! I'm so excited! Thanks so much for sharing this with us!!!
Thank you SO much for sharing this with us Vanessa!! :) I just sprung for my Cuttlebug this past Tuesday but don't have a lot of embossing folders to go with it so I am SO happy to see that I can make my own!! :) Thanks again!
~Libby @ BeachCreationsForYou.com
WOW!!!!!! this is the coolest thing ever! I have the embossing set to make your own embossing folder but this is way easier and a lot cheaper thank you so much for this tutorial I cannot wait to try it out!
-jamie